All products are independently selected by our editors. If you buy something, we may earn an affiliate commission.
Paint your nails at home, they said. It’ll look fine, they said. “Awwww! You let your toddler paint your nails!” they said. Nope, that was me.
I don’t even have a three-year-old to blame it on. Damn.
Ummmm? Why does my home manicure look like it’s been smeared on by a small child? Every Instagrammer and their mum are busy posting perfectly lacquered, #blessed nails. But a beautifully polished set of fingertips is harder to come by than you’d think.
Since accuracy is not my strong point, my technique was to “colour outside the lines,” as Samantha Jones would say – coat the entire top of my fingers in polish, go back in with a cotton bud and hope for the best. This, I’ve learned, is not the done thing.
It was a rude awakening when I caught wind of the nail tutorials happening across Instagram Live. Those benevolent folk at Olive & June have been doing a weekly Mani Bootcamp to keep everyone’s nails looking fresh while we stick out lockdown at home. And at CND they’ve called upon their ambassador @WinnieIsAwesome to walk us through everything from Tie Dye nails to abstract art during #WinnieWednesday.
Turns out, there’s a knack to getting your polish looking good, so I asked CND‘s Global Education Ambassador Nataliya Al-Ta’ai to walk me through the basics. To start, you need to prep by tidying your cuticles, filing your nails into the shape you like and removing any traces of dirt or old product with nail polish remover. Next, stick to these steps for an smooth, budge-proof diva of a manicure.
1. Seal the edge
“Remove excess polish from the brush on the side of the bottle and then apply a thin line of colour along the free edge [that’s the top of your nail] to seal it and ensure complete coverage.” This will help to prevent the polish from lifting if you bump your nails, so it’ll stay in place far longer.
2. Bead in the middle
“Pull the brush from the bottle scooping a small bead of polish on one side. Place the bead in the centre of the nail to avoid flooding the cuticle then lift the brush up and ease towards the cuticle line,” says Nataliya. “This technique allows the brush to fan out for precise application – a tiny margin should be left between the cuticle and the polish. Glide the brush from the cuticle back down towards the free edge to complete this stroke leaving even coverage on the centre of the nail.” Basically, you don’t want to get polish on your cuticles or the edges of your nails as this looks messy. It’s best to colour inside the lines. Whoops.
3. Rotate right
“Rotate the finger right and using the left side of the brush to apply colour over the left side of the nail. Follow the contour of the side wall as closely as possible from the cuticle line [at the bottom of your nail] to the free edge [at the top]. Do not re-dip the polish for steps 3 and 4 there should be enough polish to cover the nail completely.”
4. Rotate left
“Rotate the finger left and using the right side of the brush apply colour over the right side of the nail. Follow the contour of the side wall as closely as possible from the cuticle line to the free edge.”
5. Repeat and refine
“Repeat steps 1-4. The second colour layer will provide additional coverage and any free margins can be perfected with this layer. Repeat all steps with your preferred top coat.” My absolute favourite is the Vinylux Gel-Like Effect Long Wear Top Coat, which gives nails a glossy finish that looks you’ve shellac’d at home.

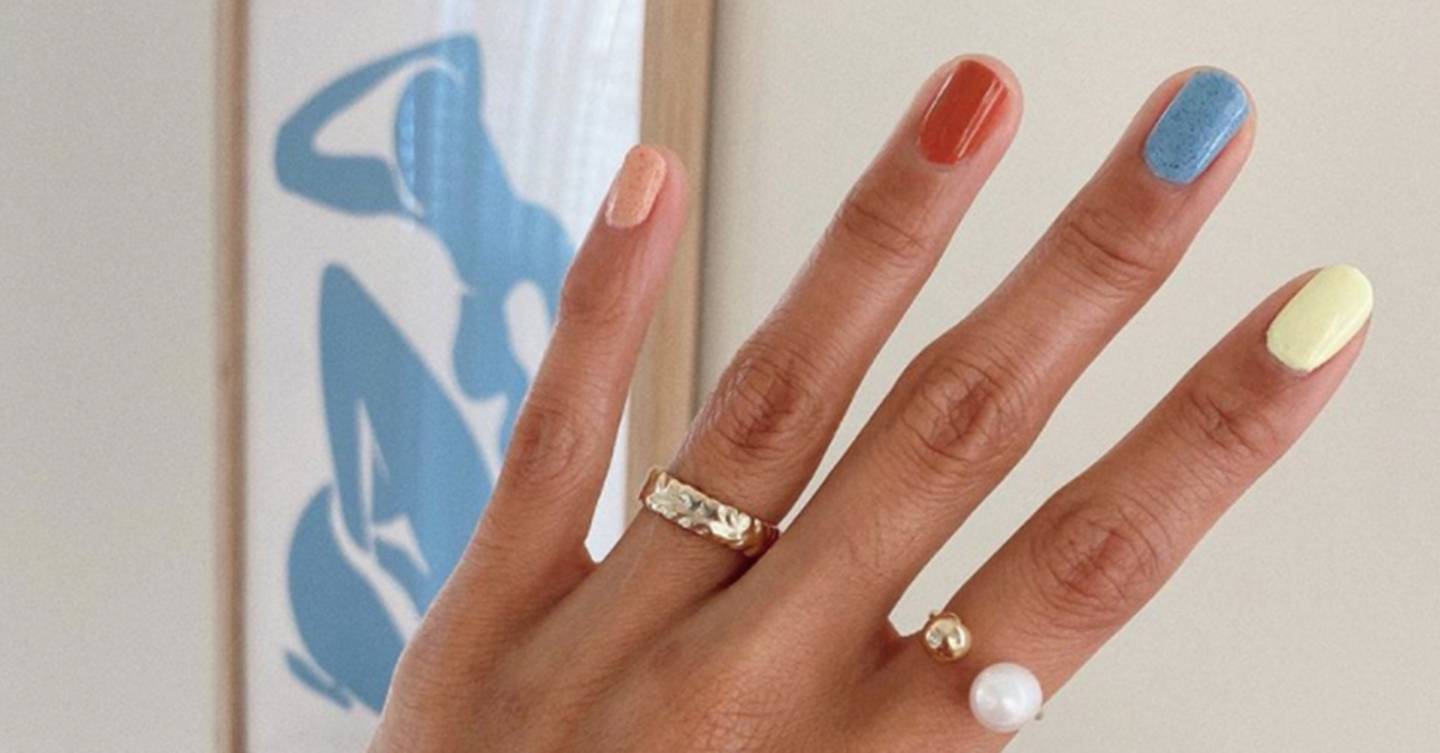
@overglowedit / Instagram
It works like a charm (more or less). And once you’ve got the technique down, the world is pretty much your oyster. First on my list? This cheery multi-coloured number by @overglowedit. See you on the grid, lads.
