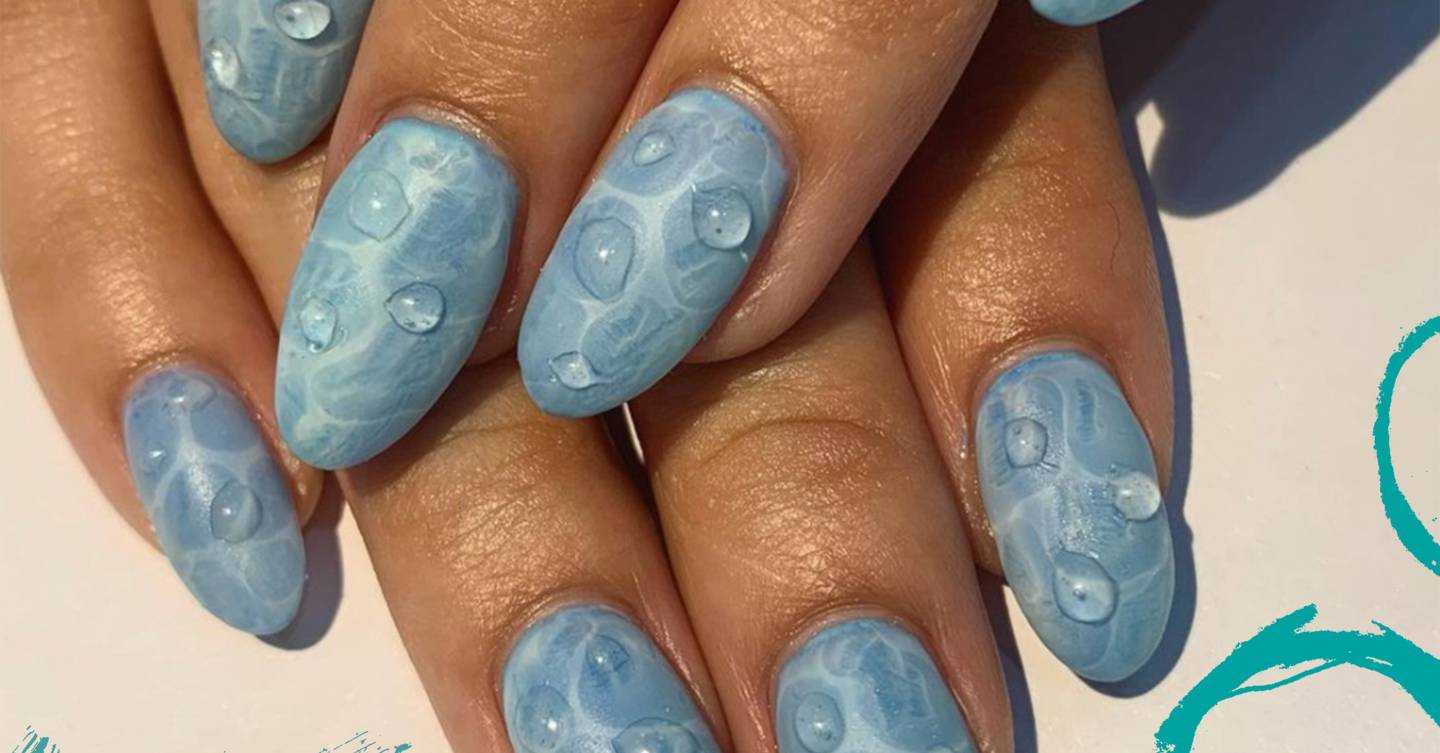
Thanks to Kylie Jenner, 3D water drop nail art is having its moment again. It’s literally just having droplets on your nails that look like they could be water.
A nail art technique that’s come in and out of fashion, 3D water drop nails are surprisingly easy to recreate at home.
There are different ways to approach the trend, using vibrant colours or more graphic approaches to create drops. Kylie opted for a block yellow accent under the drops, making for a bold look.
These a few of our faves for inspo.
While nail art stickers are an option, to keep the effect looking 3D you’ll need a top coat and potentially a nail polish dropper (though even this isn’t essential).
Tutorials show that for a more realistic water effect you can make the drops different sizes, as you can see on the video above and here in this older YouTube tutorial.
Proof that the technique has been popular for some time, the YouTube video creator explains how easy it is to recreate at home.
After using a base coat and applying a colour of your choice, wait for the polish to fully dry down.
Some creators have then used a mattifying coat this stage to make the water droplets stand out more – looking shiny against a matte backdrop – but that’s just one effect you can take or leave.
Now all you need is a clear polish and for precise small drops, a nail art tool to drop the polish down on the nail. Allow a large amount of product to drop down so it sits on the nail in a 3D shape. Or to save on money if you don’t have this tool, you can go for irregular larger drops by using the brush in the clear polish.
Simply dot across the nail and then give it ample time to harden and dry so you don’t squish (and then lose) the 3D effect.
Depending on how you nails feel after that, you could go in with a final top coat layer to hold it all together.
So really, all you need is a clear polish for a DIY version of the trend.
If you’re really stuck, a good nail artist will be able to do the job for you, but it’s worth a shot at home!
