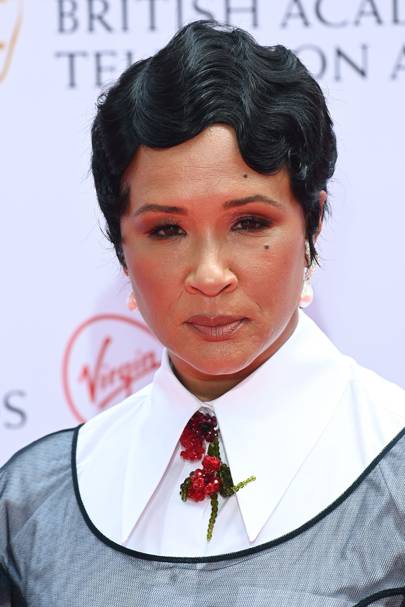
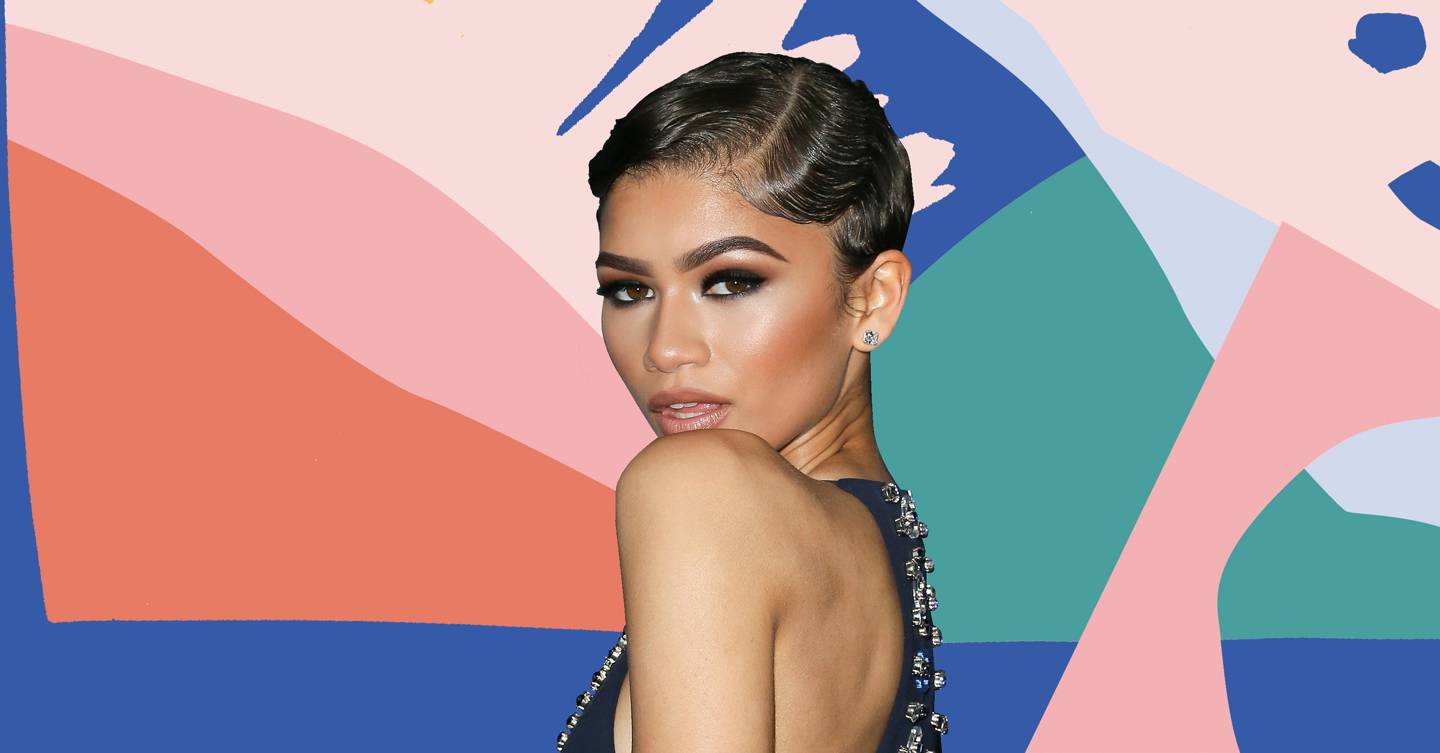
Finger waves are a hair trend that involve shaping the hair into S-shaped waves close to the scalp, creating a retro chic wet-look style reminiscent of the 1920s.
If you’re familiar with this wavy style, you may be wondering how much hair you need for finger waves. Luckily, it can be achieved whether you have long or short hair. In fact, the shorter the hair, the better says Florence Johnson, co-owner of SIMPLYGorgeous. Most importantly, having your hair straight first makes the process of creating finger waves a lot easier.
“The style is best for hair that is straight as the structure of the waves sit better on straighter hair,” she explains. “Also in terms of achieving and maintaining the style, we’d suggest those with shorter hair.”
The trend has always been popular among Black women, originating in the 1920s as a go-to style for many before resurfacing in the ’90s thanks to pop culture icons like Missy Eliot and Nia Long rocking the look in movies, music videos and on red carpets. This year, the glamorous style has made yet another comeback with many stars including Bridgerton‘s Golda Rosheuvel sporting it during awards season.
“We have had an increasing amount of enquiries [about the style],” explains Johnson. “It’s a great low maintenance options as it’s what we like to call ‘a set style’ – once it’s styled, there’s very little you need to do to maintain it other than ensuring it’s protected when you’re sleeping.”

Shutterstock
So, how can we create the look at home? Johnson breaks down exactly what you need to do to perfect the finger waves trend on your own hair…
Here’s a step-by-step on how to create finger waves:
- Tools you will need include mousse (we rate The Doux Mousse), a rat tail (or fine tooth) comb, styling strips and a hood dryer to make sure that the style is really set. You can use a regular dryer, but a hood dryer works best if you have one.
- Start on freshly washed hair free of any product other than your leave-in moisturiser. Then apply mousse to your entire hair from roots to ends. Some people use gel but mousse is far easier to work with when it comes to the moulding process needed to create the waves. Add more mousse as and when you need.
- Start from the front of your hair and from one side use your comp to create an S shape whilst using two of your fingers to hold the hair down in the middle curve of the S. Repeat this process all over your hair. As a novice it may be easier to purely focus on the front until you get a hand of the technique. For this option simply smooth the back of you hair back to the nape of your neck.
- Once you’ve got the shape you like now you need to set the hair. This is done by wrapping your styling strips around the circumference of your head and sitting under a dryer. The length of time needed is purely dependent on the thickness of your hair but ensure your hair is fully dryer to hold the style
- Finish off with a light sheen spray (optional).
Voila!
You may need a few practice runs before you perfect things, especially if it’s your first time. But ultimately, it’s a pretty quick and easy process, meaning you won’t have to pay a visit to the hairdressers every time you want the style. Music to our ears!
