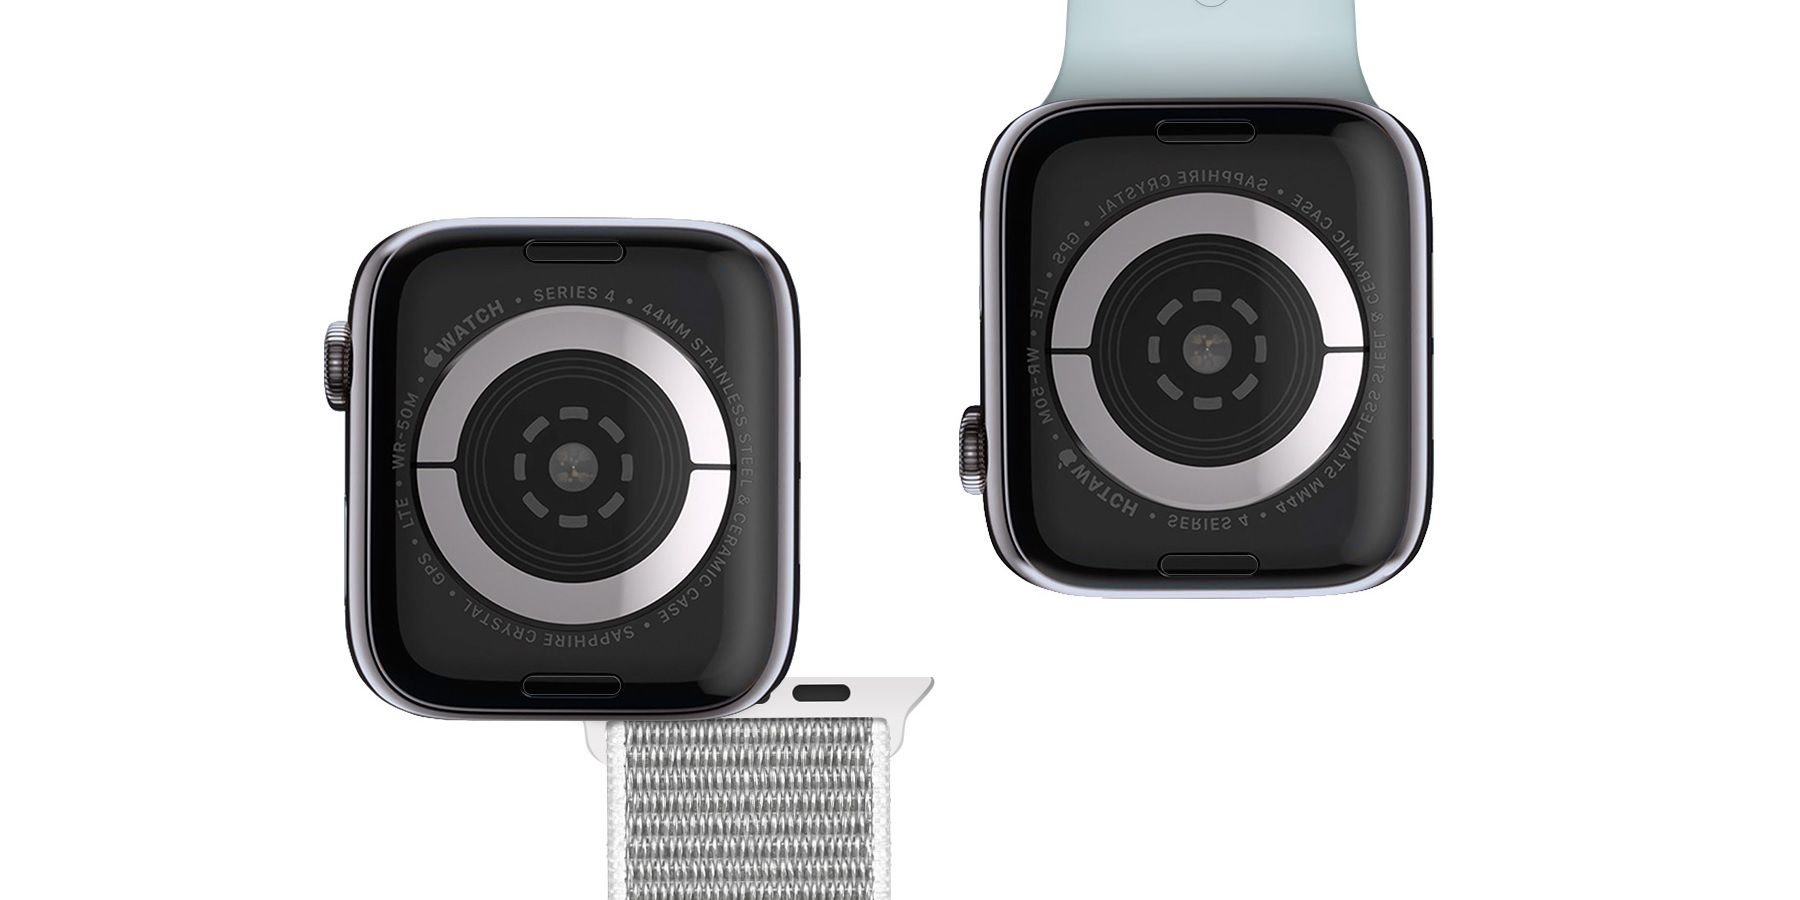
It has been five years since the first Apple Watch was released, and with it came a large variety of Apple Watch bands. From Apple’s own sports bands to the more luxurious Hermès Leather bands, smartwatch owners have plenty of options to choose from. Swapping a band is not only a way for wearers to replace a broken one, but it can also be used to freshen up the look of the Apple Watch.
Since the release of the Apple Watch the number and variety of bands on offer has also increased. Not only has brands like Nike collaborated with Apple on new options, but bands made from other materials, like the Milanese band and the Link Bracelet, have also been released. With so many different styles, it’s important to understand how to remove and change out an Apple Watch band.
Apple has made changing out Apple Watch bands a quick and easy process. However, before adding a new band its important to make sure that the band corresponds with the right Apple Watch Size. Apple Watch Series 1, 2, and 3 are available in 38mm and 40mm sizes, while the Apple Watch Series 4 and 5 are available in 42mm and 44mm sizes. All watch bands for 38mm and 40mm cases should be compatible with each other, and bands for 42mm and 44mm cases should also be compatible with each other. However, the steps on how to change and remove an Apple Watch band can vary, depending on the type of watch band.
Changing & Removing Apple Watch Bands
The first step in removing a band is flipping over the Apple Watch and placing it on a soft, lint-free surface to avoid any scratches. On the bottom of the watch, there should be two quick-release buttons below where the bands are inserted. Hold down the quick-release button and slide out the band to remove it. If for some reason the band is stuck, make sure you are pressing and holding the button, but be careful not to force the band out or it could damage the watch.
To add the new band, make sure it is facing the correct way, with the text or logo facing upwards. Then simply slide the band into the slot until a clicking noise is heard. Adding Milanese bands are a bit more complex as before attaching the band to the watch, one of the slides from the band will need to be removed and attached to the watch. Following which, the other slide can be attached with the magnet facing up. Once both slides are attached push the magnet through the open slot on the slide and position it at the desired length.
Removing or adding a Link Bracelet also requires a different process as the bracelet needs to be separated. First, close the butterfly closure and lock both sides into place. The quick-release buttons are on the bottom, inside the bracelet, and the watch owner will need to press and hold one of the buttons while pulling. Once the bracelet is separated, it can then be removed from the watch.
Always be sure to press and hold the quick-release button when adding or removing any band. Forcing the band can break the band, or worse still, break the Apple Watch. Also be sure not to wear the band if it has not snapped in place correctly. When sliding a band in, make sure there is a clicking noise and that the band doesn’t slide through at all, to ensure the Apple Watch doesn’t suddenly fall off.
Source: Apple
